Language Settings
MonoChat allows businesses to manage the languages used for customer communication. This includes setting default languages and enabling automatic translation for seamless interaction with customers worldwide. Here’s a detailed guide on how to use the Language Settings feature in MonoChat.
Understanding Language Settings
Language settings enable businesses to define which languages will be used for customer interactions. These settings are crucial for:
- Customer Language Selection: Allowing customers to choose their preferred language.
- Automatic Translation: Enabling automated translation during customer interactions.
Setting Up Languages
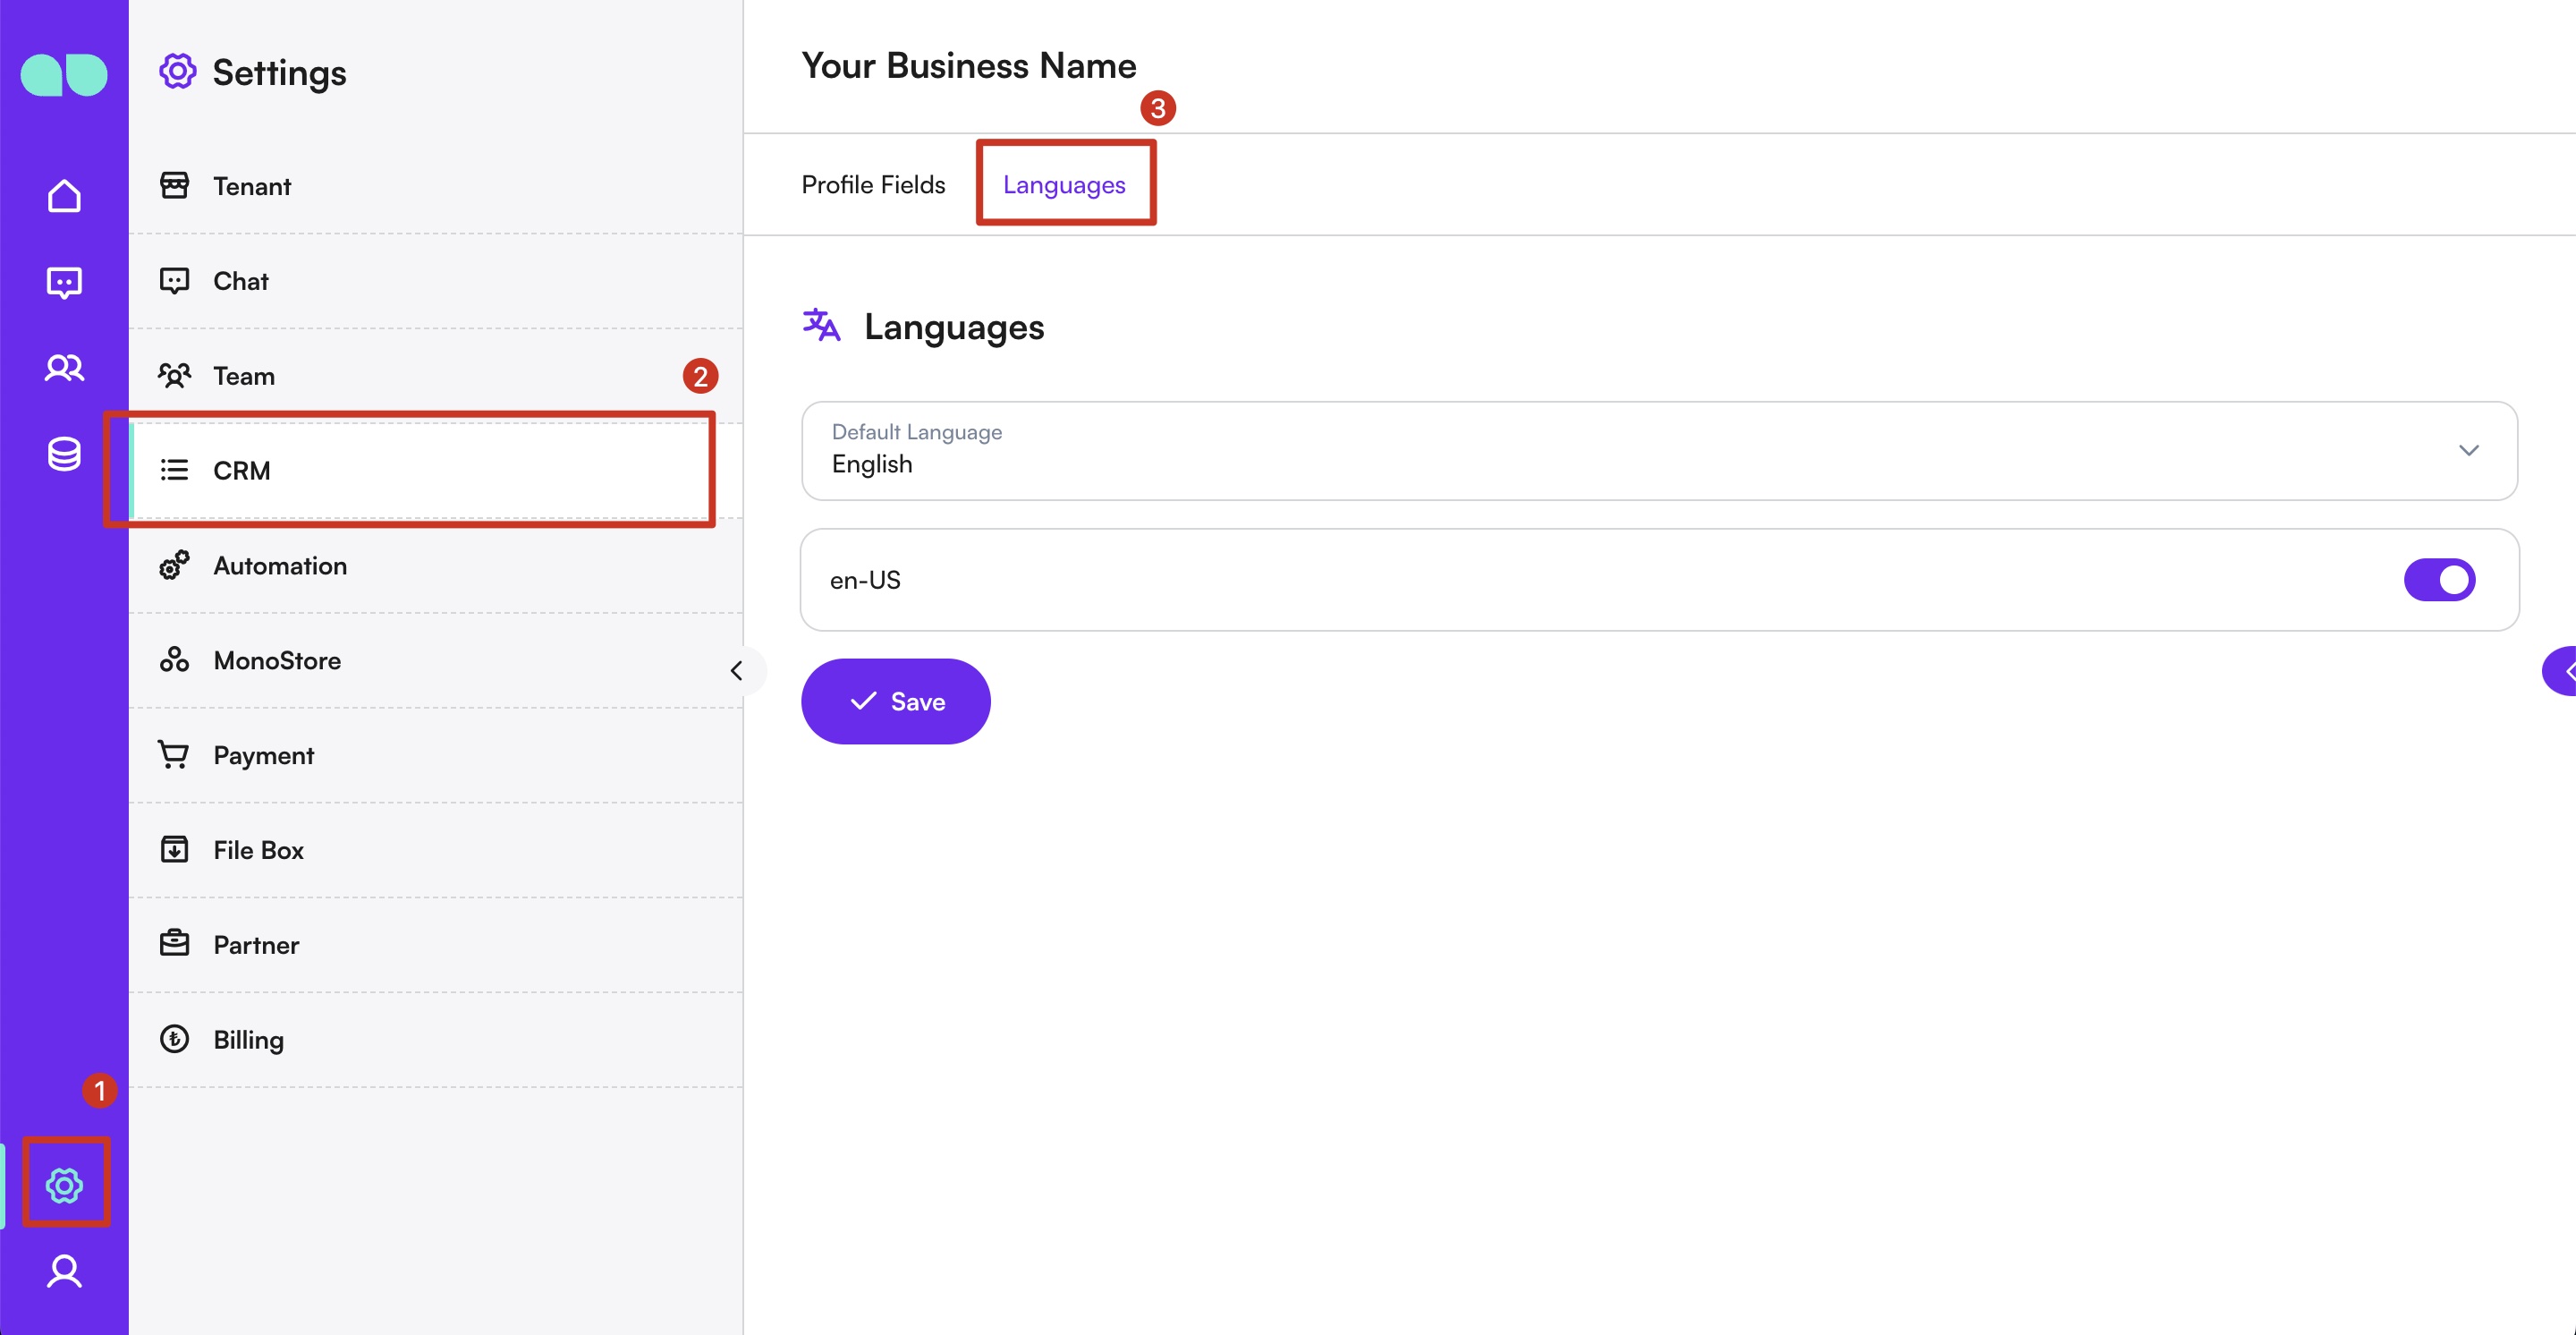
- Navigate to Language Settings: Go to the CRM module and click on
Languages.
-
Add a New Language:
-
Click on the "Create" button.
-
Enter the name of the language.
-
Select the language code from the dropdown list.
-
-
Save the Language: Click the "Save" button to add the new language to the system.
Updating a Language
-
Select a Language to Update:
-
From the list of languages, click on the language you wish to update.
-
-
Modify the Necessary Details:
-
Update the language name or code as needed.
-
-
Save the Changes: Click the "Save" button to apply the updates.
Using Language Settings
The language settings in MonoChat are utilized in various ways to enhance customer communication:
- Customer Preference: Customers can select their preferred language for interactions.
- Automatic Translation: During conversations, MonoChat can automatically translate messages to and from the customer’s preferred language, ensuring smooth and effective communication.
By leveraging the Language Settings feature, businesses can effectively communicate with customers from all over the world, regardless of the language they speak, thereby enhancing customer satisfaction and engagement.