Customers Overview
Navigation
To access this module, in the side navigation menu > click Customers.
Customers Cards
You can view all your contact cards in the area on the left side of the screen. You can search through these cards by phone number, name and surname. You can also sort these contact cards by name and date of creation, from the beginning to the end or from the end to the beginning.
Add new contact
There are two ways to add a new contact. Depending on the number of contacts you want to upload, you can either add them individually or you can save your contacts in cvs format and add them in bulk.
New contact create
To add a new contact, you can click on the Add Customer button at the bottom left of the screen.
In the drawer that opens, the information you will enter about the person is listed. Among this information, you need to enter the name, surname and phone number information as mandatory. You can save the contact by entering other fields in an optional way.
You can edit these profile fields according to your business. For this you need to navigate to “Settings > CRM > Profile Fields”. For more information, please click on Profile Fields.
Bulk import
Instead of adding your contacts one by one, you can add them in bulk with the help of a csv file and update their profile fields.
Import Process
You can select the “import” option by clicking on the three dots at the top of the screen. The process will be explained to you step by step in the menu that opens afterwards.
Step 1: Upload file You can get the most accurate format by first downloading the sample file on the right. Make changes to the file, save the people you want to upload to the file and upload your file from the “Upload File” section in the same area.
Step 2: Mapping titles On the left side of the screen, you will see the columns in the file you uploaded. On the right side, the profile fields open in your business are listed. You can continue the process by selecting which column will match with which profile field.
Step 3: Review of uploaded data The summary of the file uploaded by the system is shown here. The descriptions of the 4 fields that appear on the screen are as follows:
- Invalid datas: Invalid values in the file you added are listed in this field.
- Same datas: Repeated values in the file you added are listed here.
- Data to be updated: The people in the file you want to upload who are already registered in the system are listed here.
- Data to be newly recorded: The new people to be added are listed in this field.
Step 4: Final check and import A summary screen lists new contacts to be added and existing contacts to be updated for you to make a final check
Finally, you can upload your contacts in bulk by clicking the save button at the bottom right.
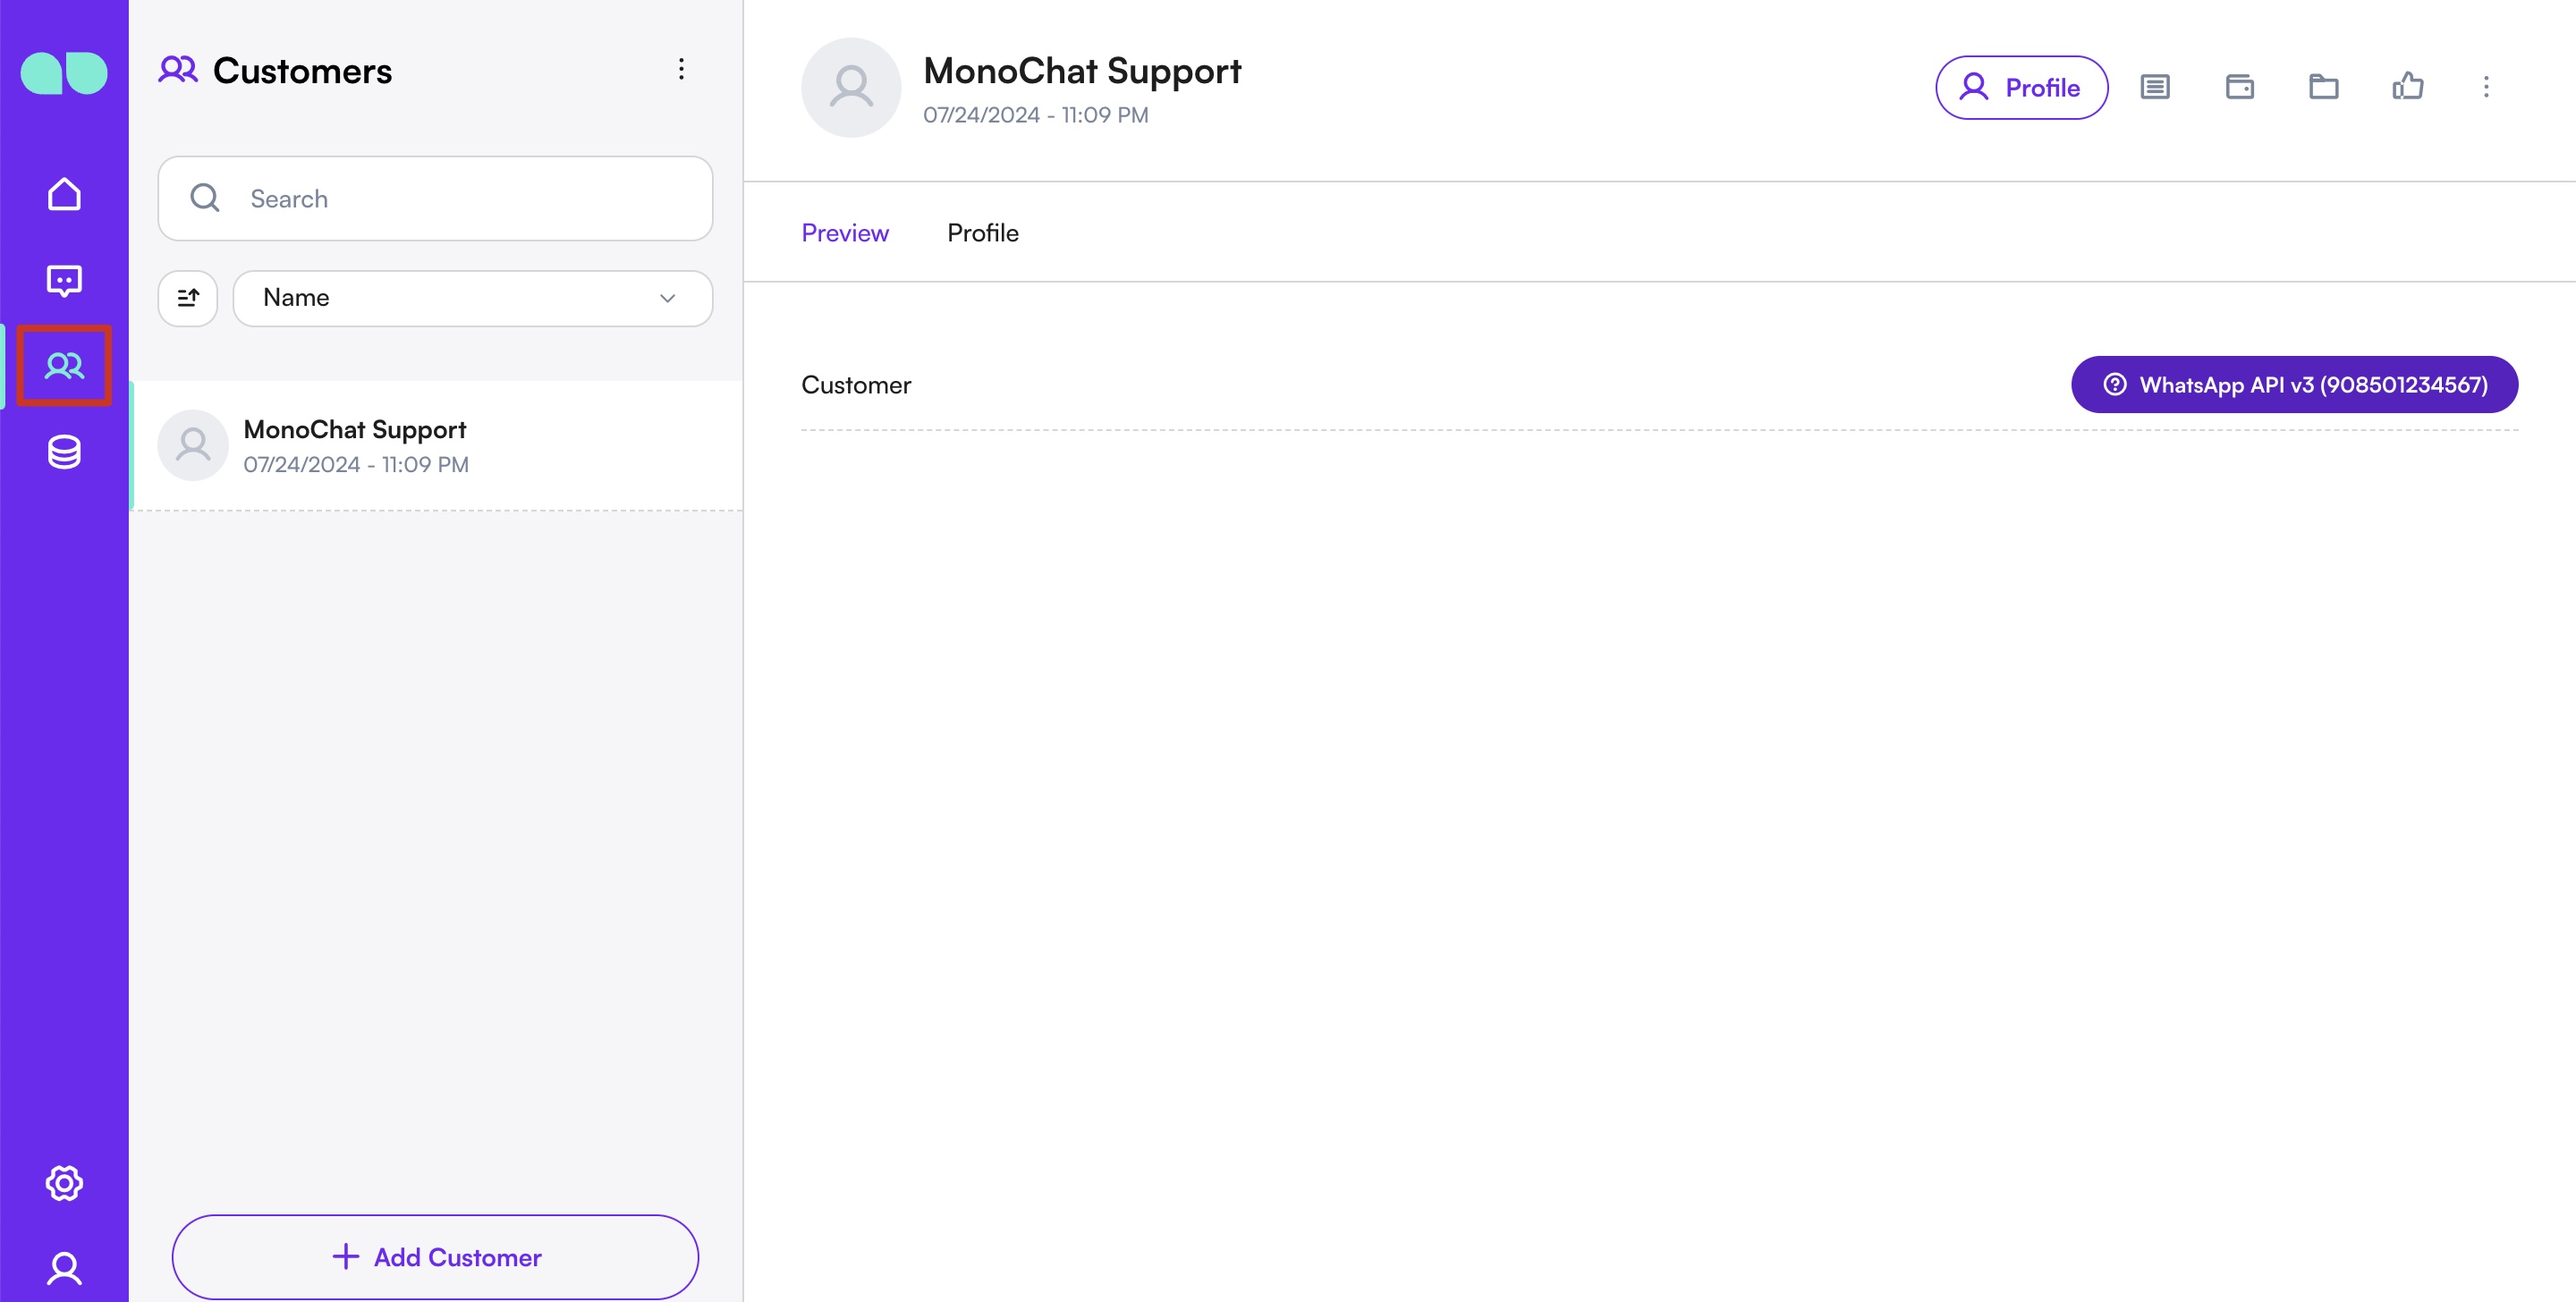
Viewing Customers
Customer details are shown in the center of the screen. You can access the details of your customers by switching between customer cards. The details of your customer are divided into multiple fields, these fields are Profile, Wallet and Files respectively.
Profile
The profile area is divided into two parts: preview and profile.
Preview
In the Preview section, the communication channels belonging to the user are listed. You can take open conversation action with the purple buttons on the right side of the listed channels.
Profile
In profile you can view and edit the tags assigned to the user and the person's profile. After editing, do not forget to click the Save Information button at the bottom.
Wallet
You can view balance and transactions information about the person in the wallet section. You can also create a transaction for the contact.
Files
In the Files section, you can view all images and files shared with the contact.
In addition, you can mark the contact as spam by clicking on the ellipsis button at the top right.
Messages written by people marked as spam will not be forwarded to your business.