File Box
The File Box feature allows businesses to upload and manage various types of media, such as images, videos, and documents, which can then be shared with customers during conversations. This provides a convenient way to send relevant files quickly and efficiently.
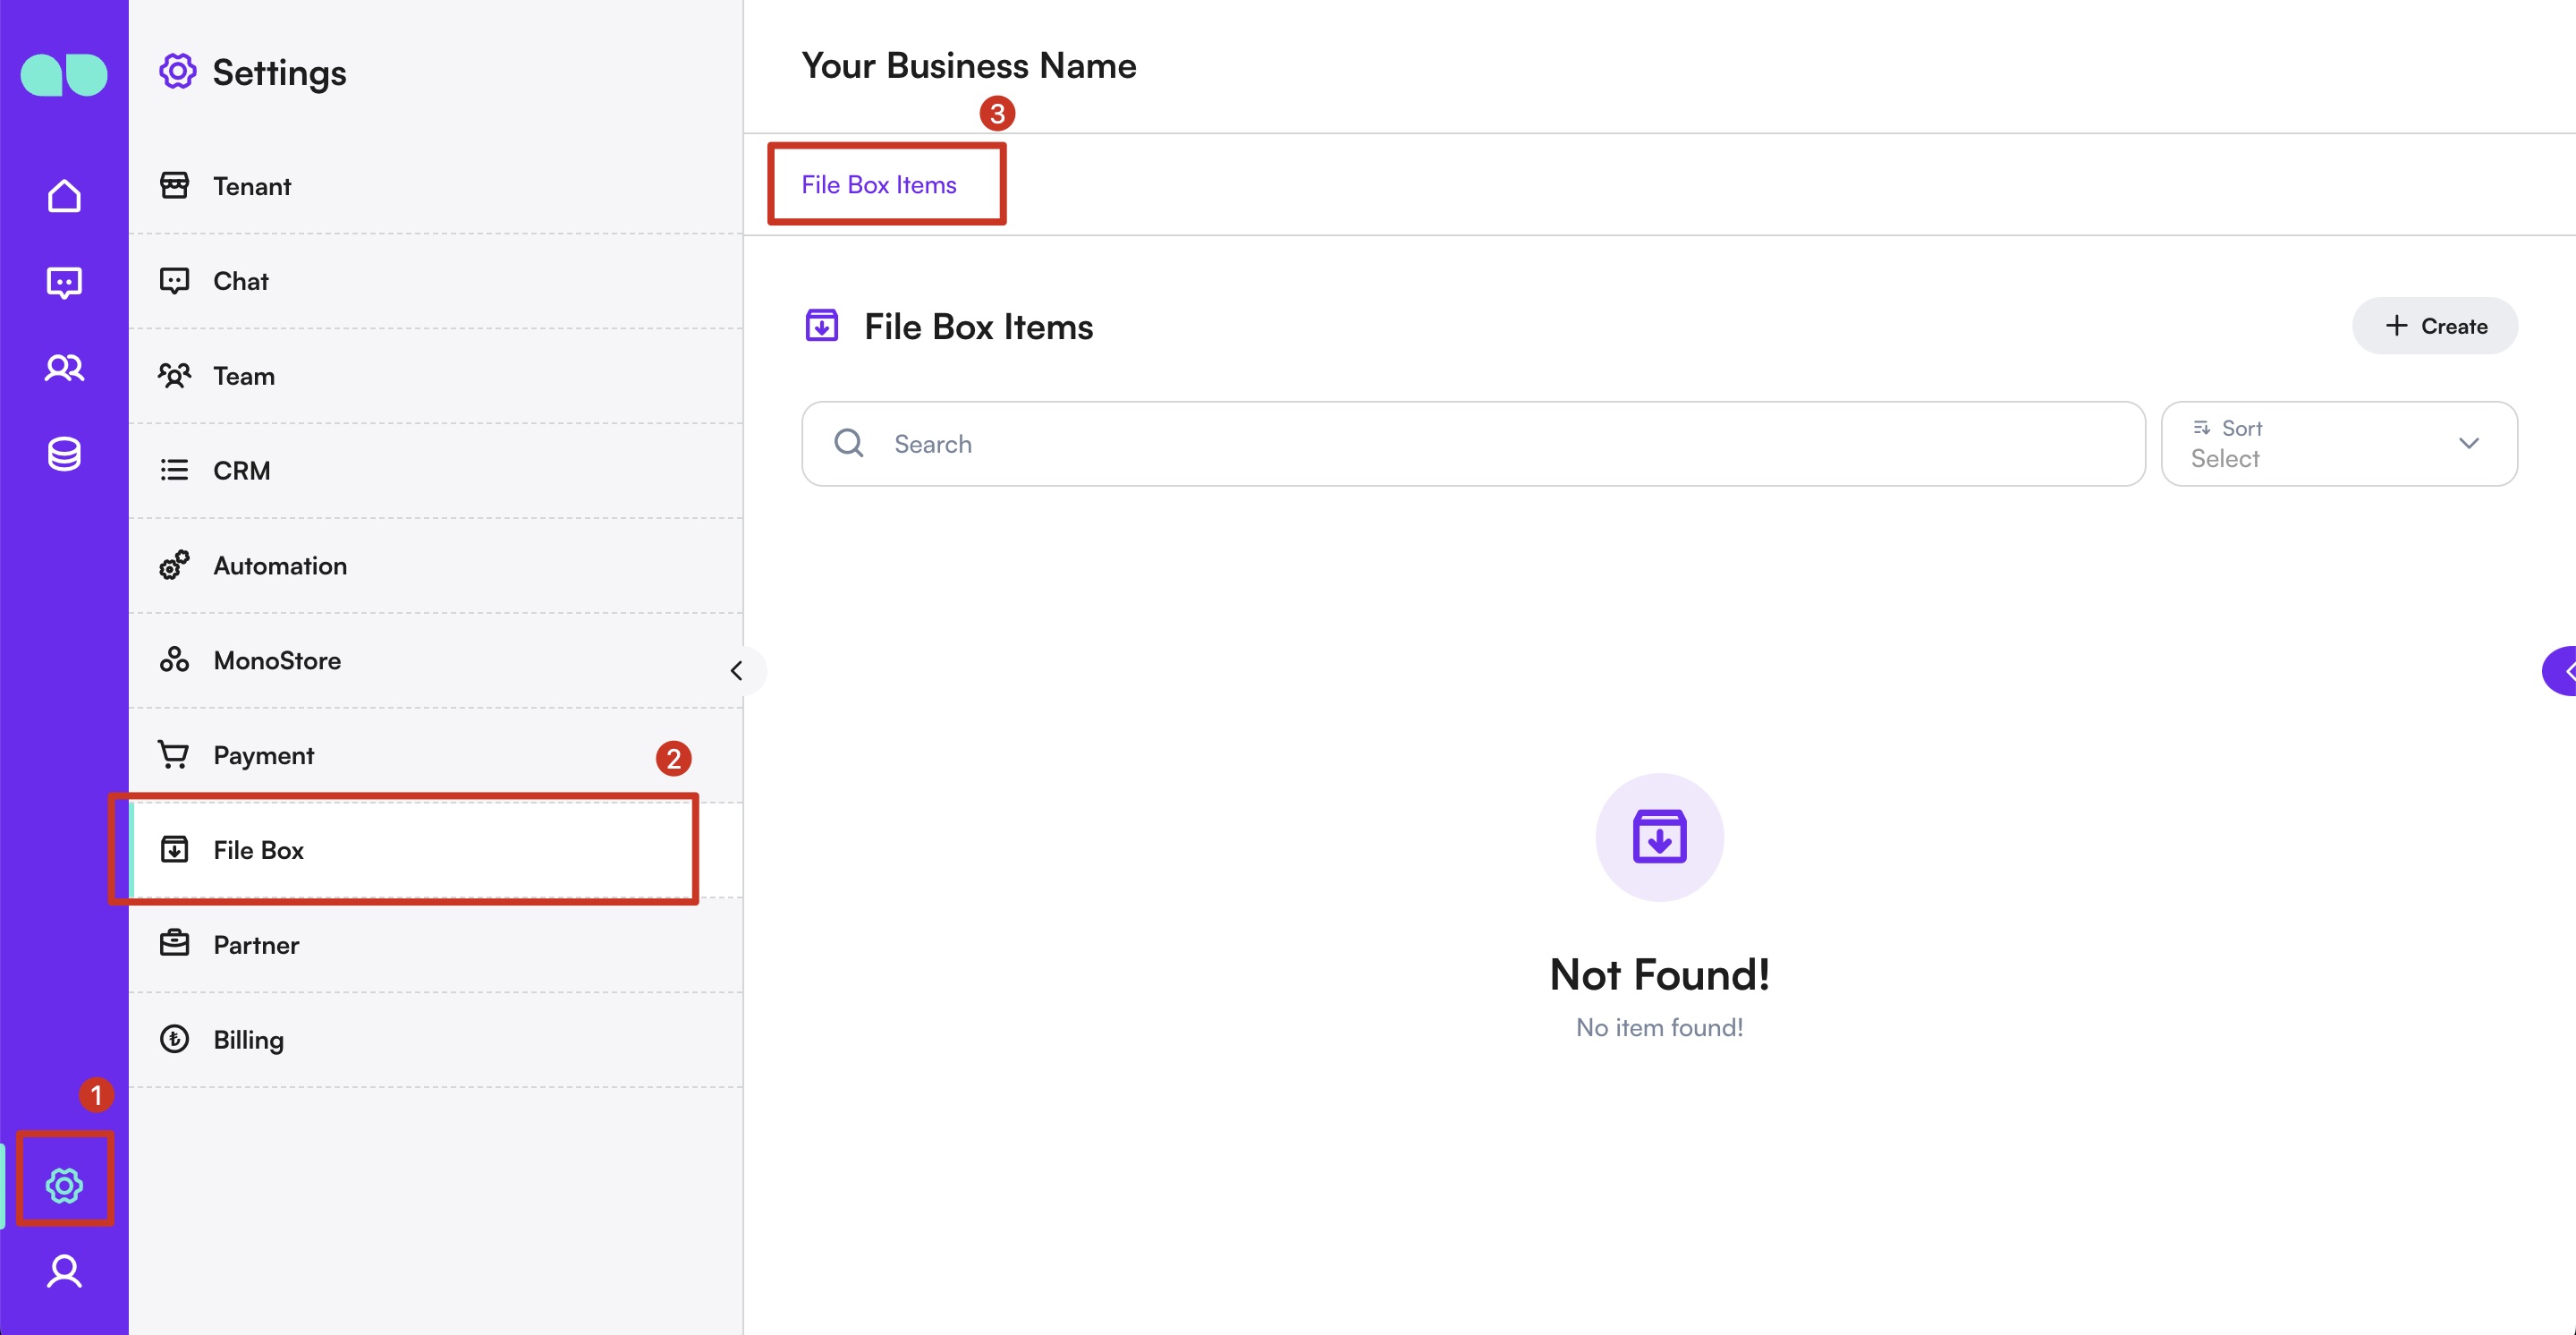
Accessing File Box
- Navigate to the
Settingssection from the sidebar. - Click on
File Boxunder theSettingsmenu.
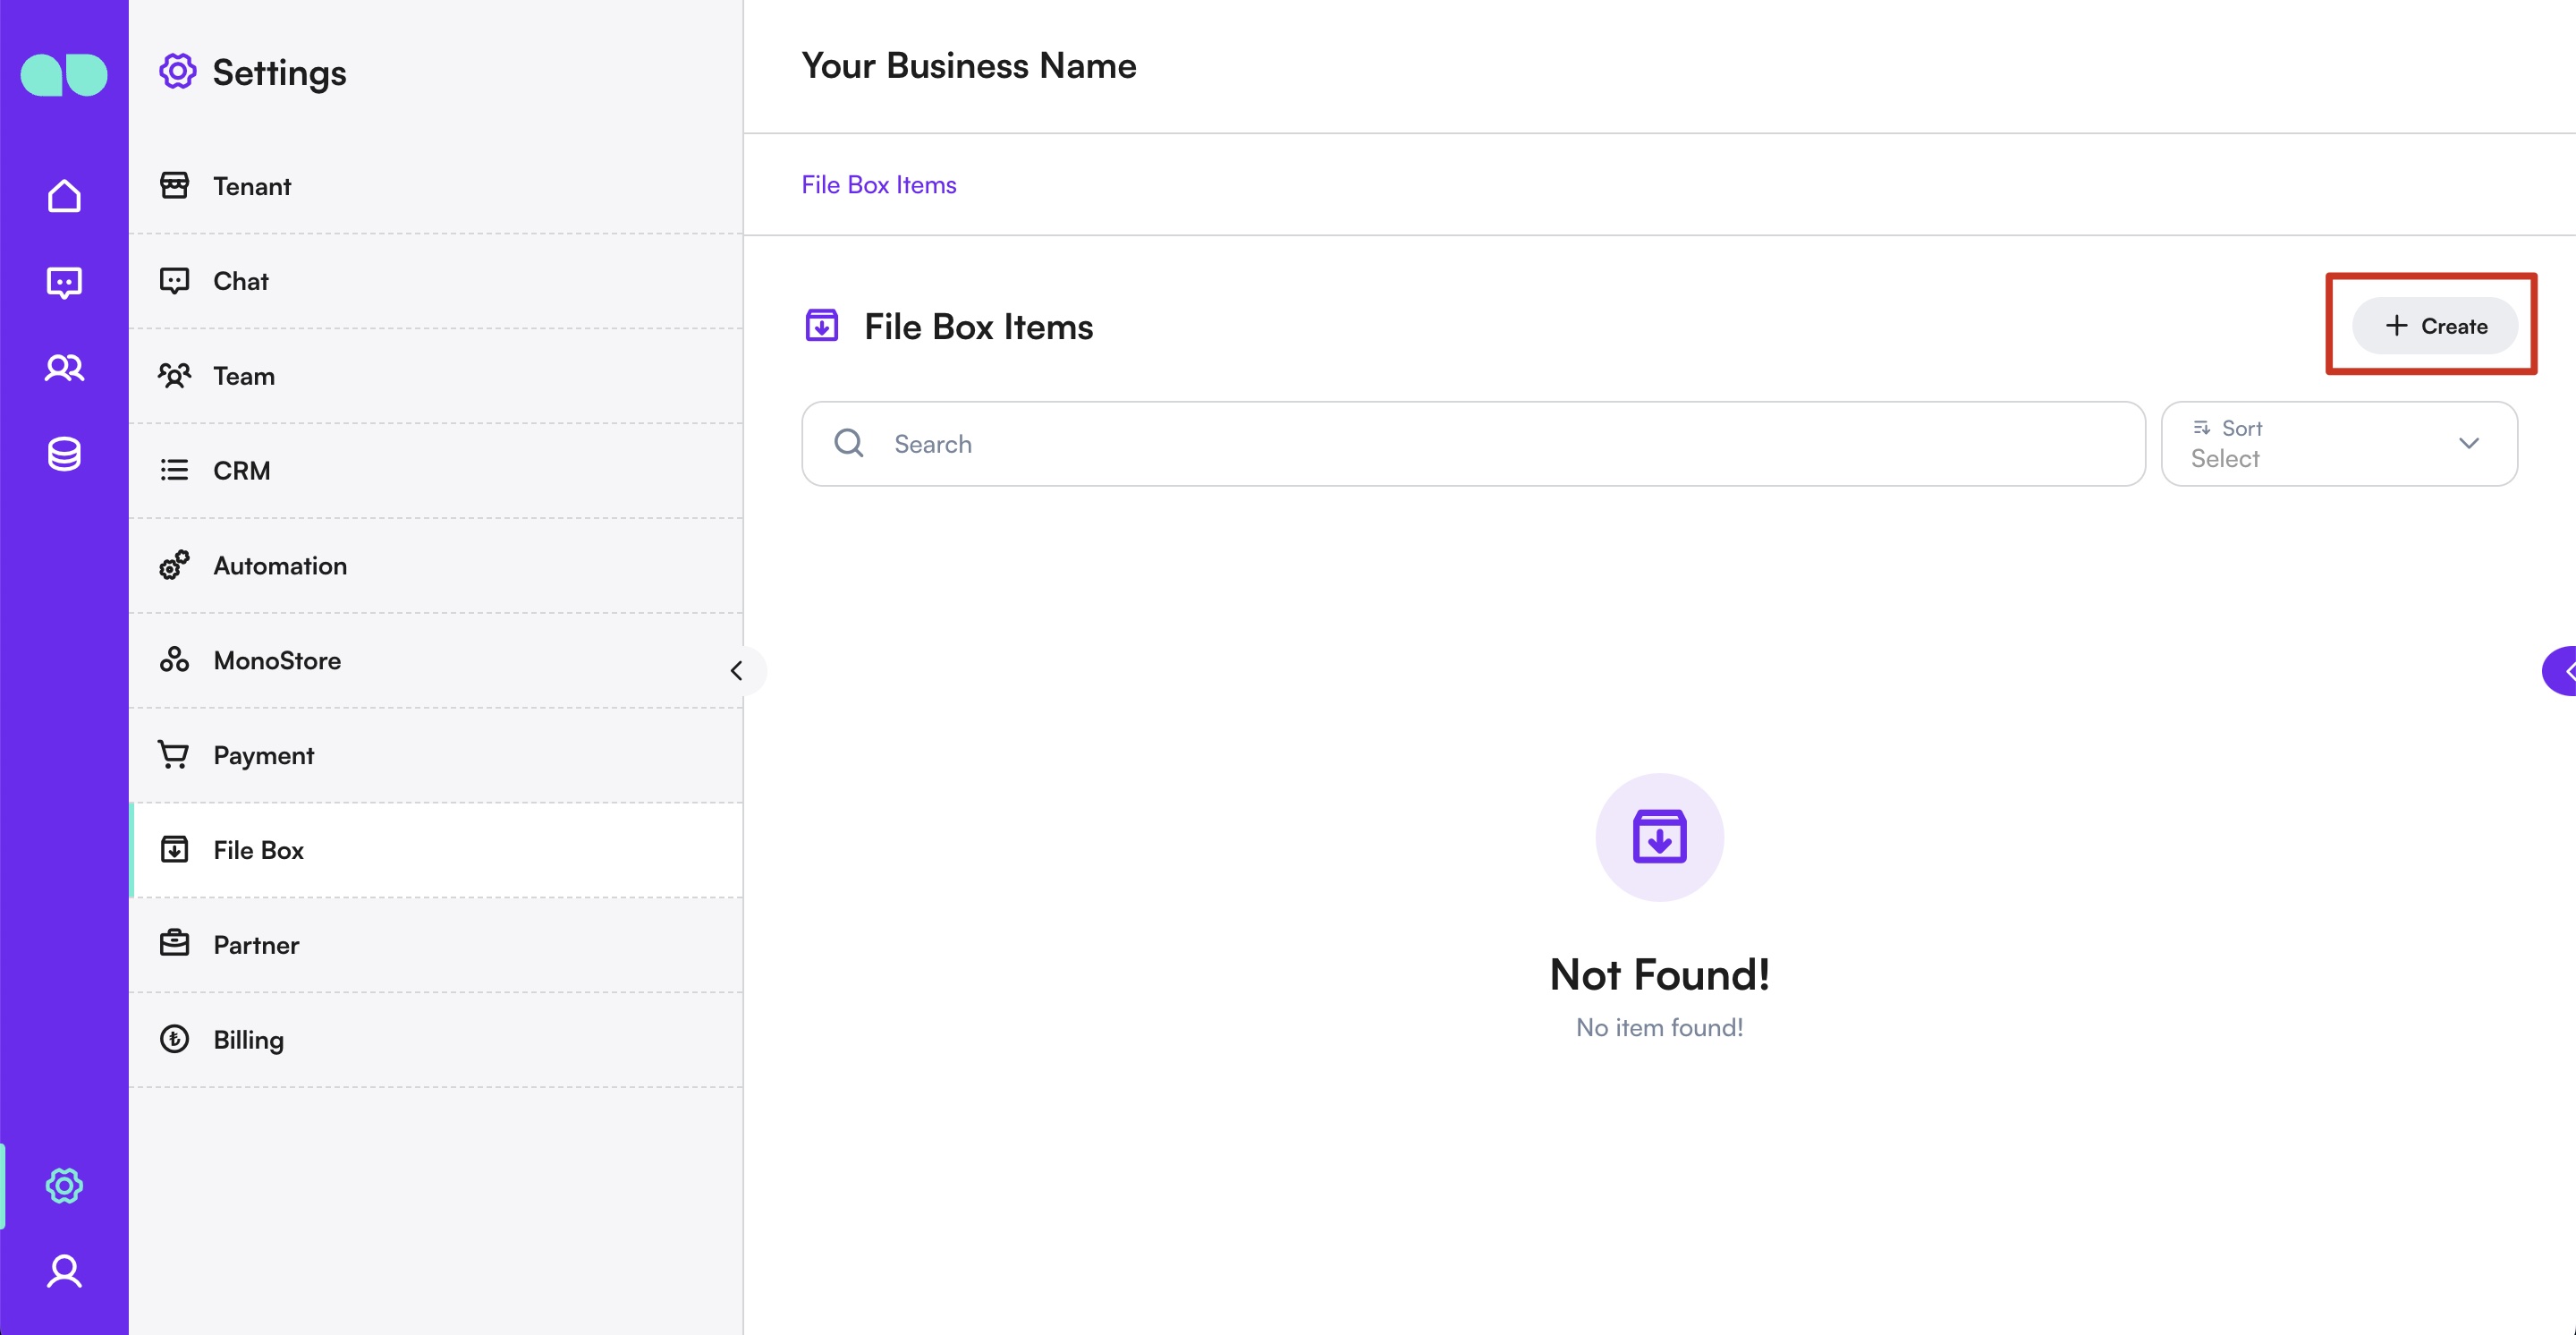
Adding a File to File Box
- Click the
+ Createbutton on the right-hand side. - A new drawer will appear allowing you to upload a file from your computer.
- Click on the upload area to select a file from your computer.
- Select the file you wish to upload and confirm the upload.
- Click
Saveto add the file to your list of File Box items.
Managing Files in File Box
- View: To view the details of an uploaded file, click on the file name in the list.
- Edit: To edit the details of a file, click on the edit icon next to the file name. Make your changes and save.
- Delete: To remove a file, click on the trash icon next to the file name. Confirm the deletion when prompted.
Using File Box in Conversations
- During a conversation, click on the
File boxbutton under the Gallery widget to access the uploaded files. - Select the file you want to send to the customer from the list.
- The selected file will be attached to the message and sent to the customer.
Best Practices
- Organization: Keep your File Box organized by naming files appropriately and categorizing them if possible.
- Relevance: Ensure that the uploaded files are relevant and useful for customer interactions.
- Regular Updates: Regularly update and manage the files in your File Box to keep the content fresh and accurate.
By utilizing the File Box feature, businesses can enhance their customer service by quickly sharing relevant media files during conversations, improving the overall communication experience on the MonoChat platform.