Profile Settings
In the User Profile section, users can manage their security preferences such as password and two-factor authentication (2FA), oversee API token administration, update contact information, review invitations, and access signed user contracts.
Profile settings can be access through the account button at the lower side of the navigation bar.
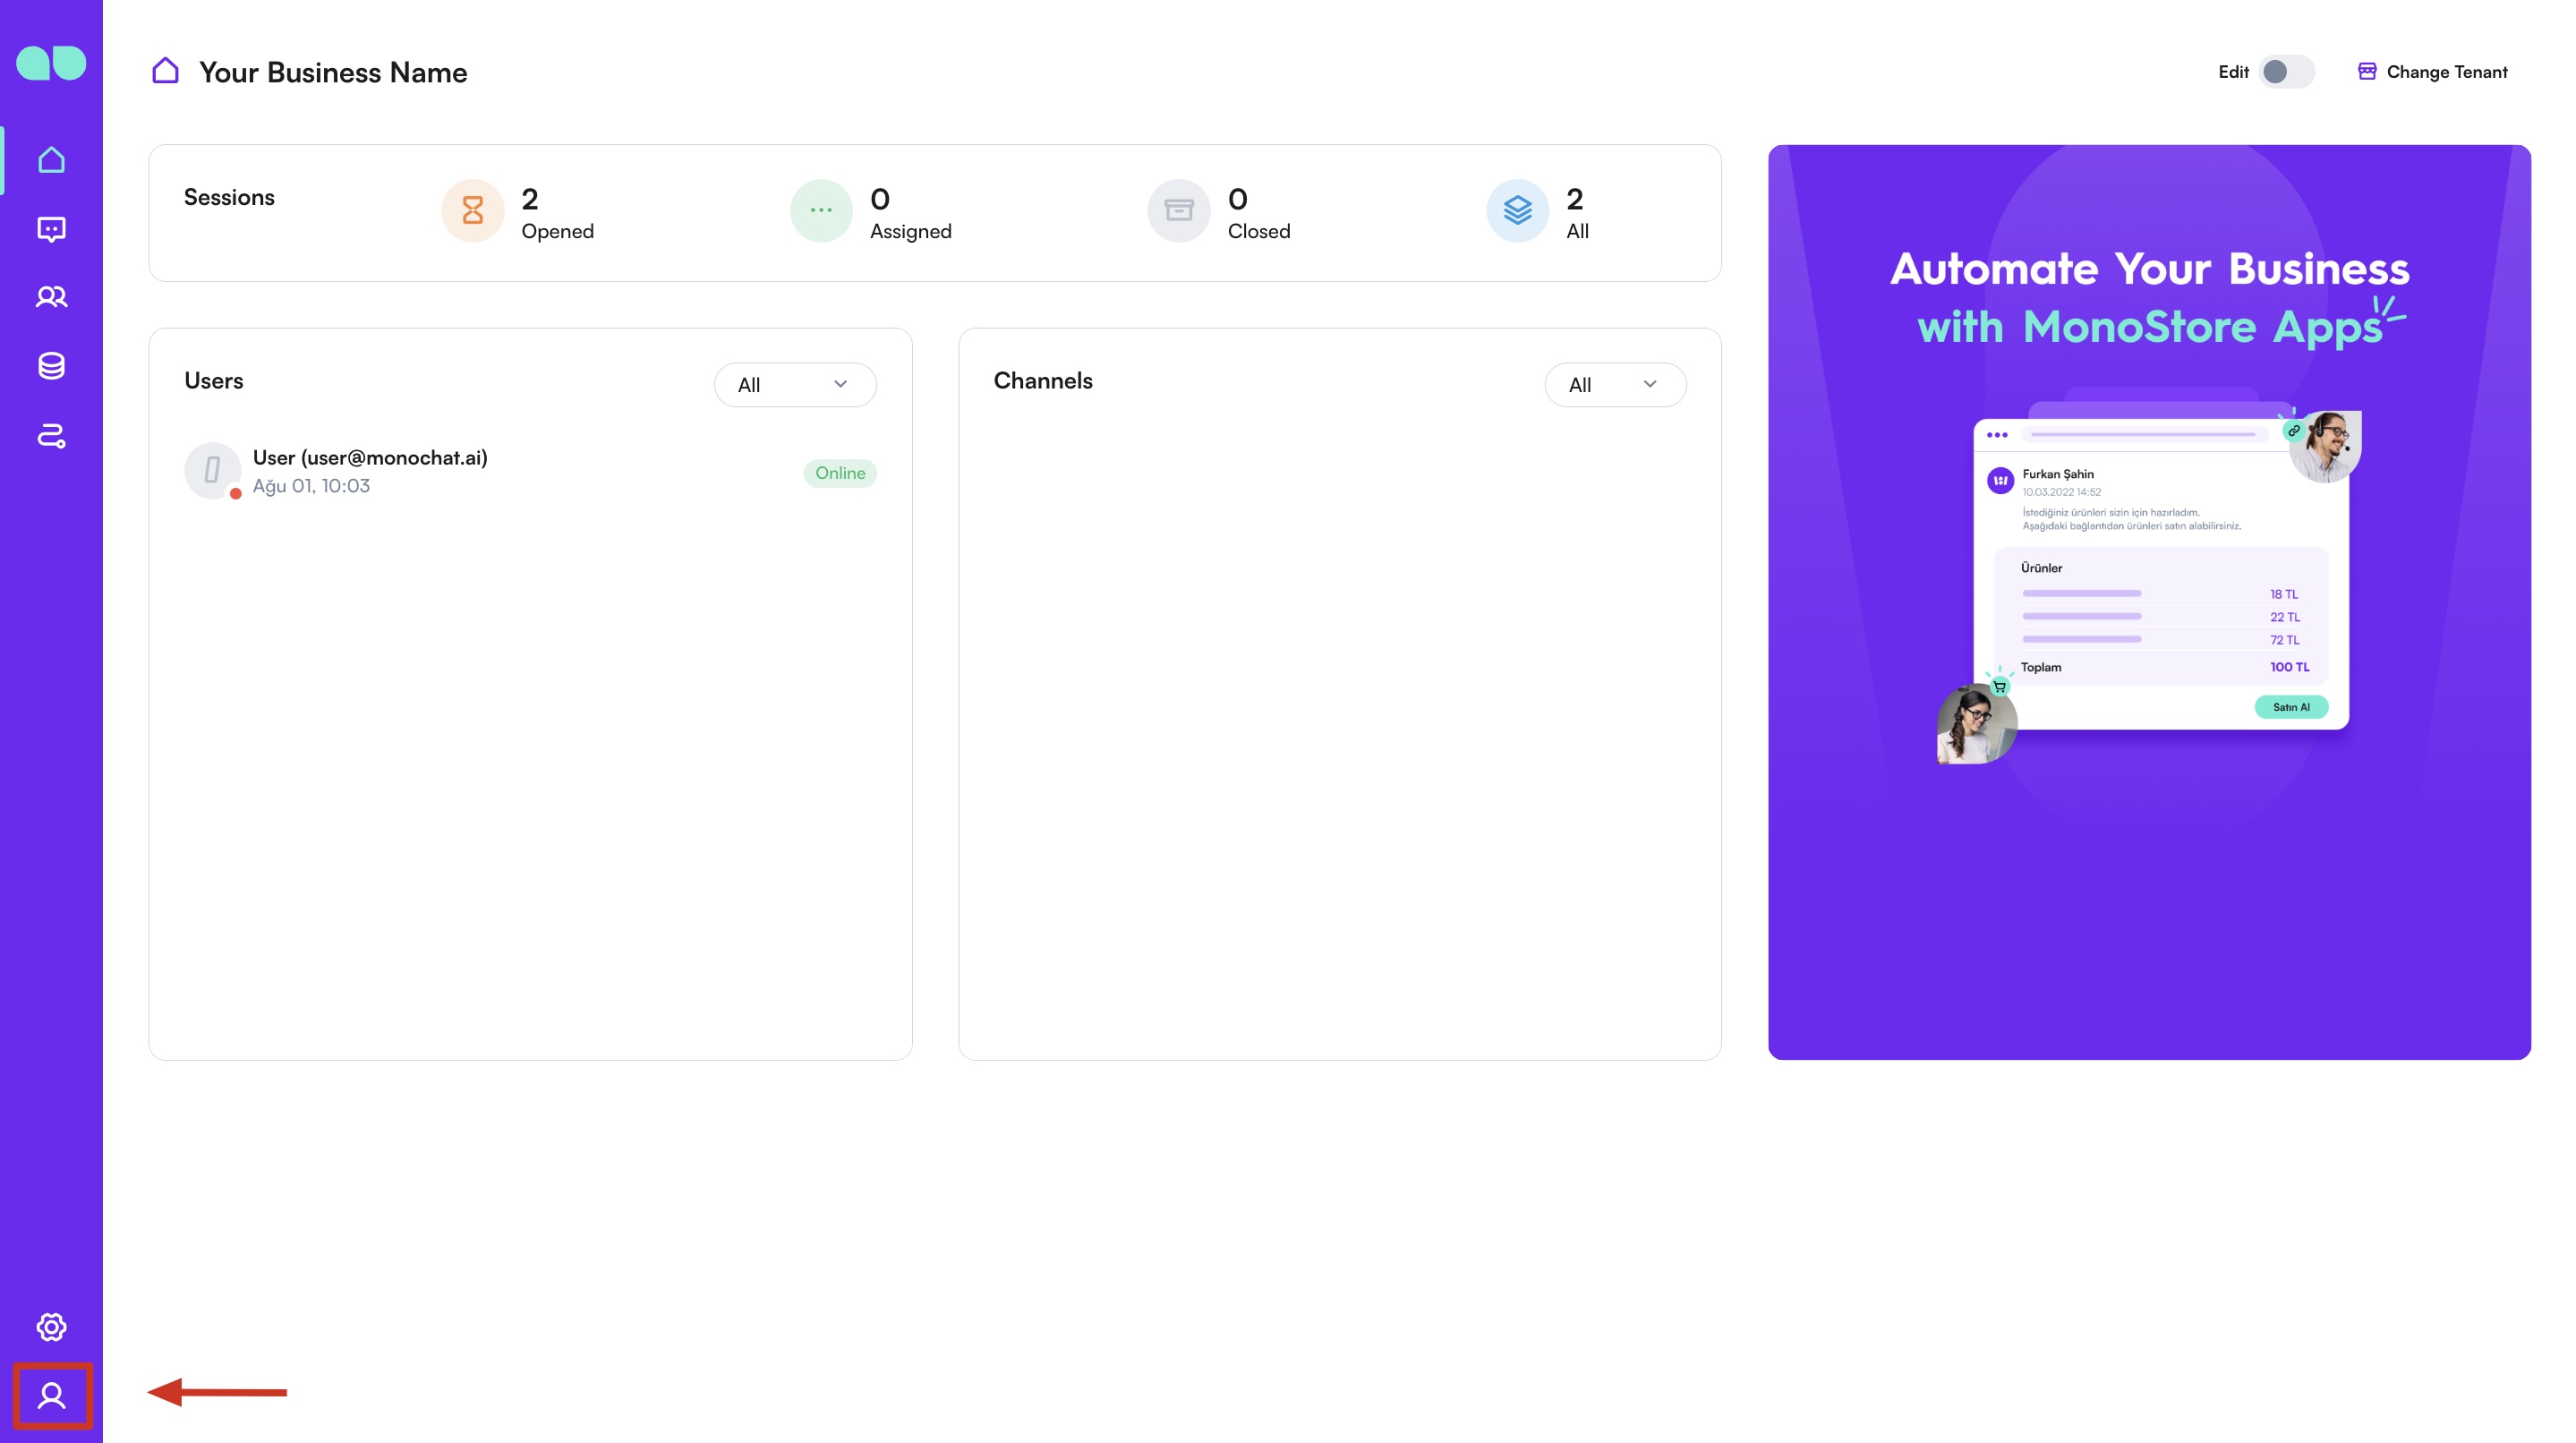
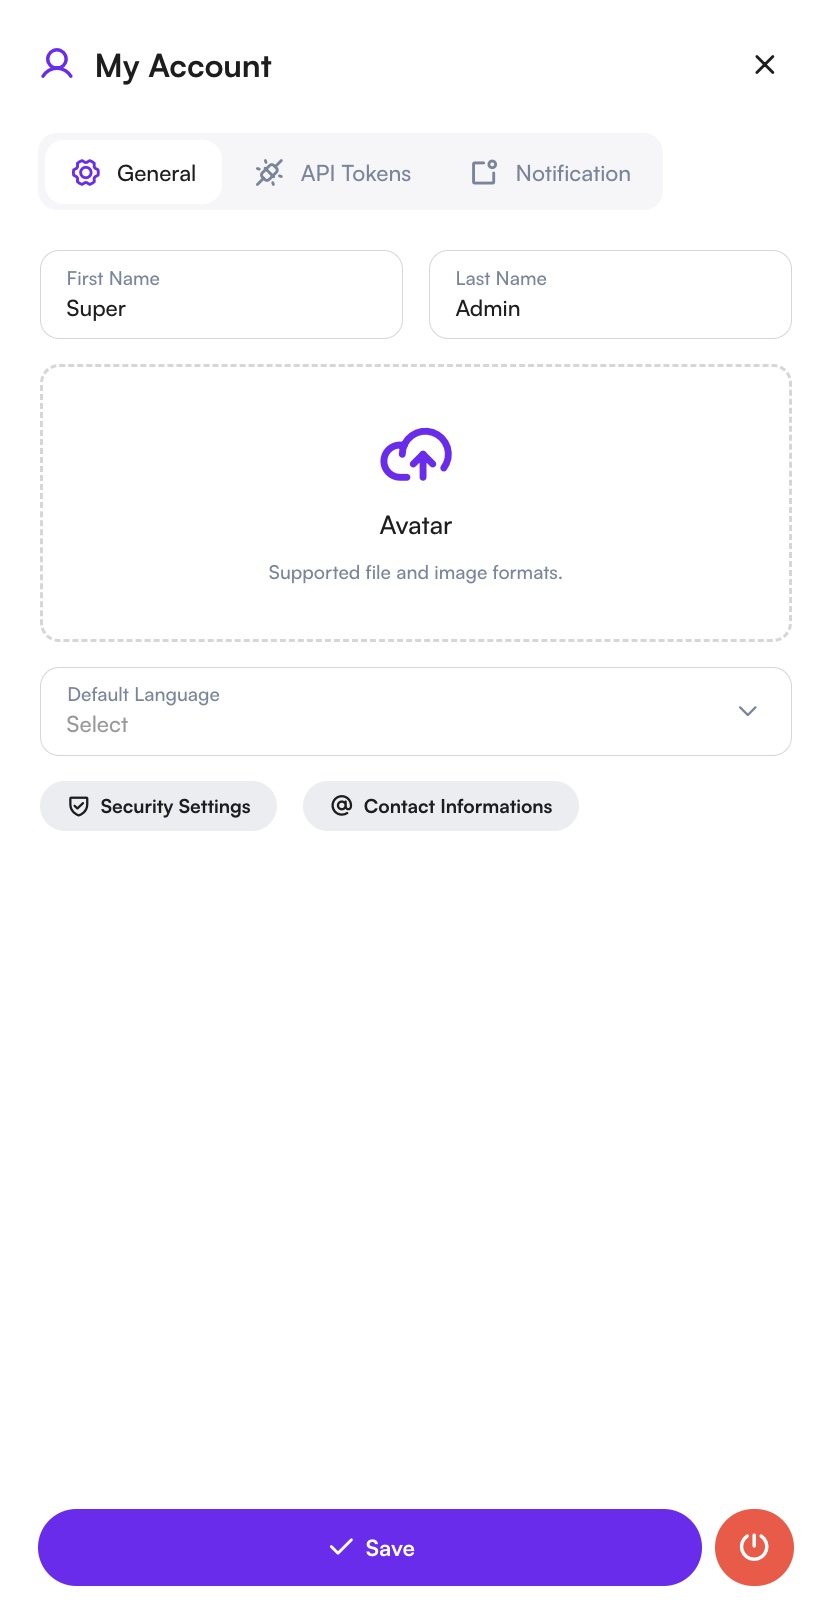
General Information
In the General tab, users can update their personal information, such as their first name, last name, and avatar, along with their default language choice.
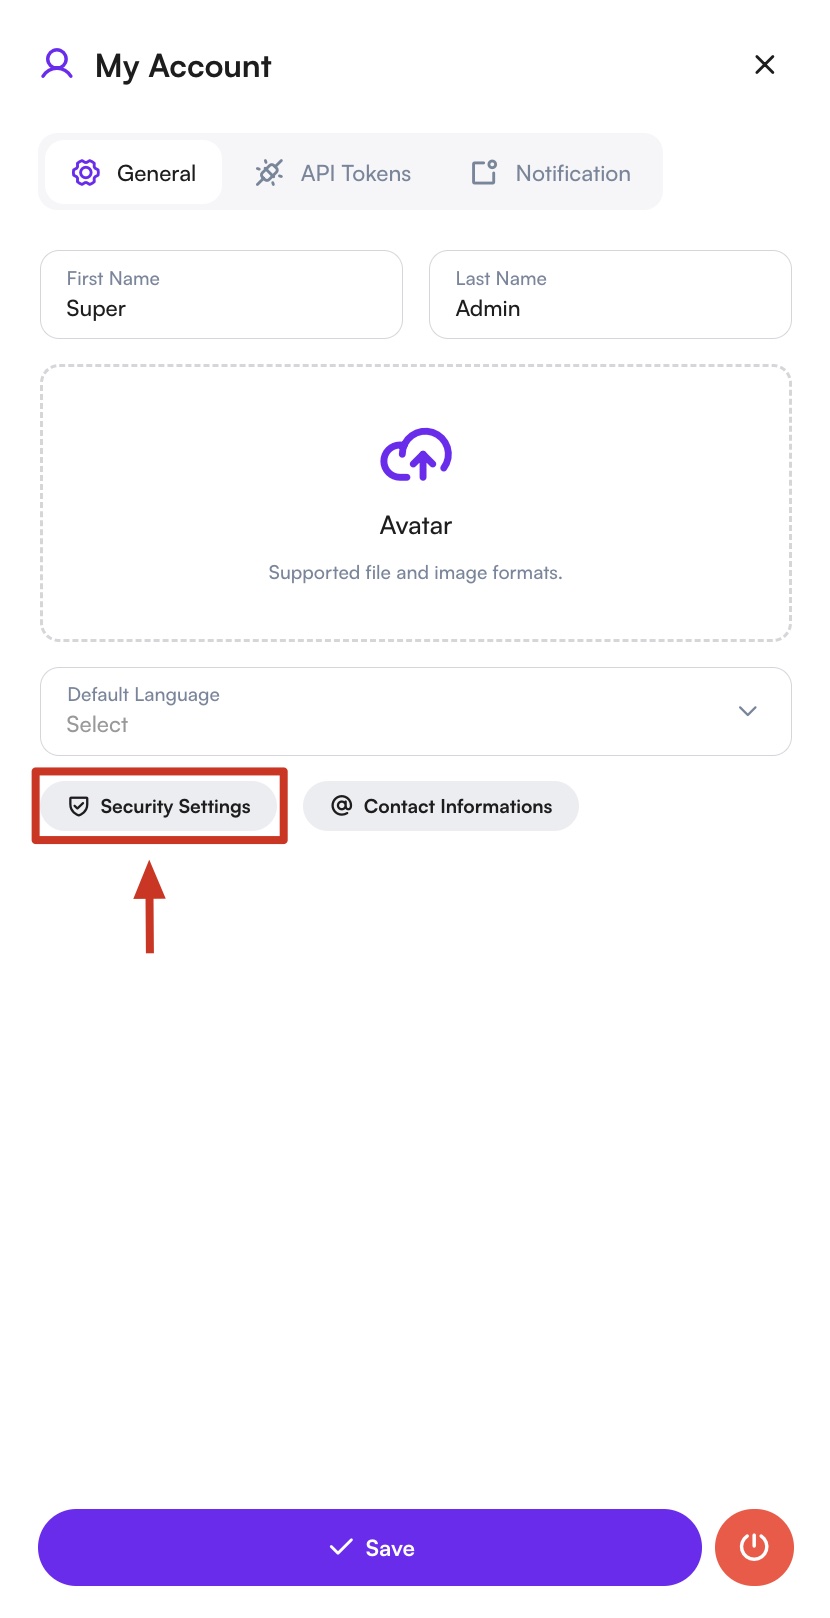
Security Settings
In the Security Settings section, users can enhance their account protection by updating their password and activating Two-Factor Authentication (2FA). Changing the password requires entering the current password followed by a new one. For 2FA, users have the option to configure it through an authenticator app or by receiving verification codes via email.
Profile Security

Password

Authenticator

Email
1 of 4
Contact Information
Users can update their contact details, such as email address and phone number, in the Contact Information tab.

Contact

Contact Info

Create Contact Info
1 of 3
Signed Contracts
This page provides access to all previously signed contracts associated with the user's account. They can review, download, or verify contracts here for their records and compliance purposes.

Invitations
This page displays all pending invitations for tenant access. Users can review, accept, or reject invitations to manage their permissions and access rights.

API Tokens
In the API Tokens tab, users can create and manage their API tokens to be able to integrate with other systems.

API Tokens

API Token Create
1 of 2
MCP connections
In this tab, users manage the connections that let an external AI client, such as claude.ai, ChatGPT, Claude Code or Cursor, use their MonoChat account through the MonoChat MCP Server. A connection belongs to the account, not to a tenant. There are two kinds: a connection made by signing in from the app (marked OAuth), and an access key created here and pasted into the app.
- Open your profile settings, select the MCP connections tab and click Create.
- Enter a name, choose the scope (Read-only by default, or Read and write) and the expiry in days (90 by default, 365 at most).
- Enter the 6-digit confirmation code from your two-step verification method. If you use e-mail verification, click Send confirmation code first.
- Copy the access key. It is shown only once.
Above the list, How to connect shows the server URL of your MonoChat installation, the Authorization header and a ready-to-copy setup for Claude Code, Cursor and other MCP clients, with a placeholder for the key; right after you create a key, the drawer shows the same setup with the new key filled in.
Each connection in the list shows its status, scope, expiry and last use. Click Revoke to cut off an AI client immediately. You can have up to 10 active connections of both kinds together.
See Connect AI apps (MCP) for the tools, how an app connects by signing in, and how to connect Claude Code or Cursor with a key.
Notification Settings
Users can customize their notification preferences in the Notification Settings tab, enabling or disabling notifications for various events, such as when a channel is disconnected or when a bulk message is sent.
